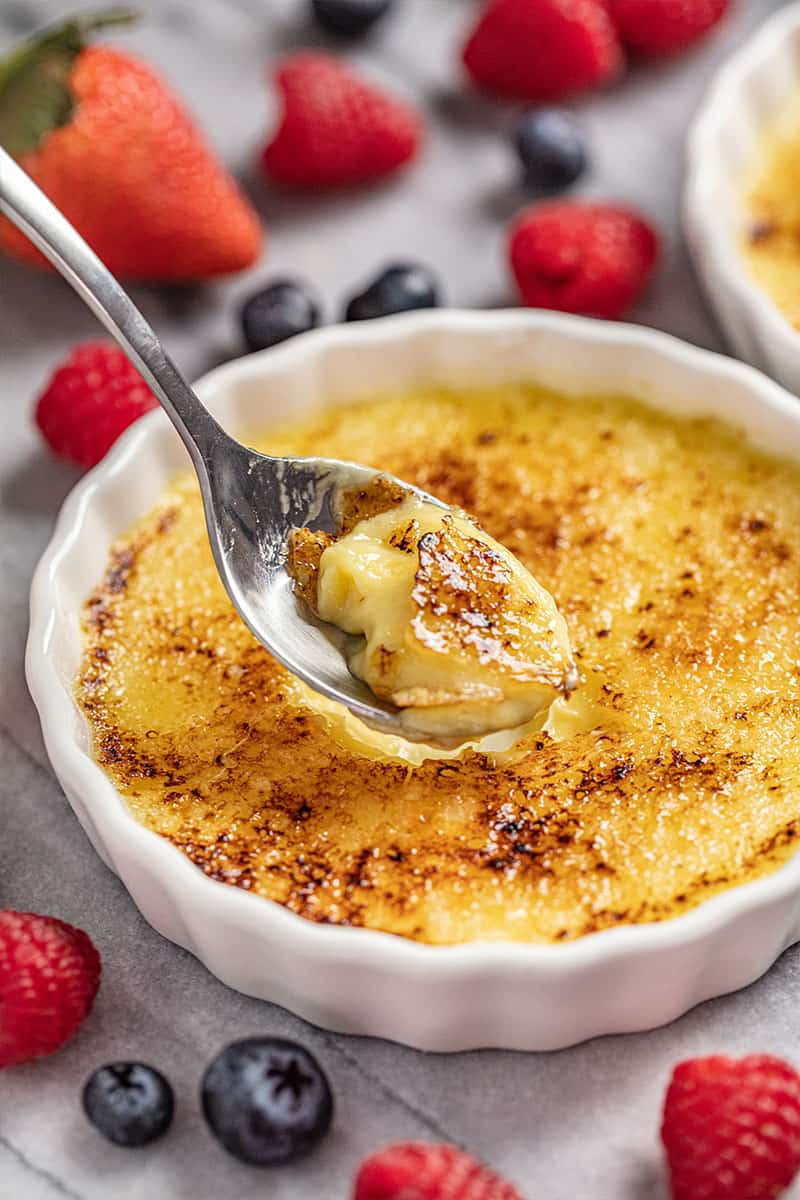
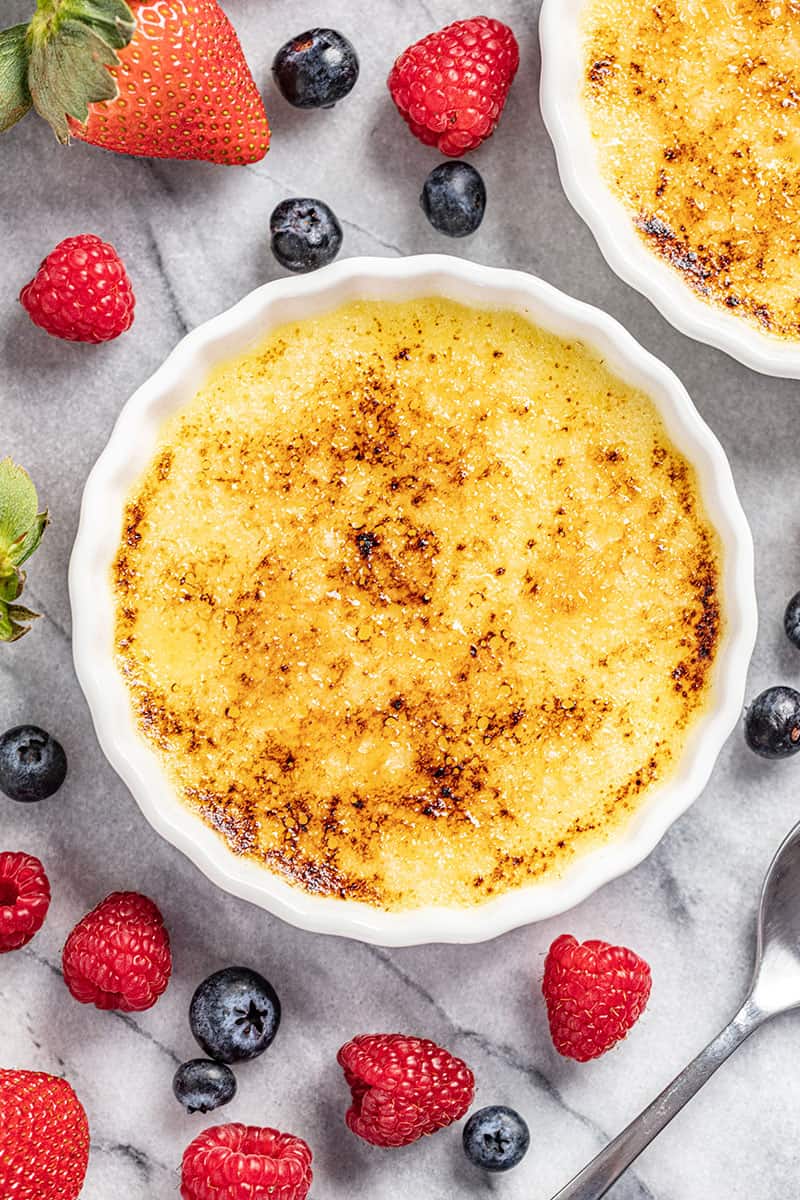
We love any dessert that calls for a kitchen torch. Seriously though folks, even though this recipe recommends a kitchen tool you may not have on hand already, it is extremely easy to make. The base of this recipe is a creamy vanilla custard, and is super quick to whip up. So many crème brûlée and custard recipes call for heating the milk or cream on the stovetop before baking, but we’ve kept it simple with this easy, classic recipe; no pre-heating required. Just mix it all together and put it straight in the oven! We want you to treat yo’ self (and your loved ones) with an amazing dessert. Today might be Valentine’s Day, but you can make this any day of the year. No need to fuss over a lengthy, complicated recipe. We’re not about that. So dust off those ramekins hiding in the back of your pantry, and savor every bite of this decadent dessert. We even saved the best news for last: crème brûlée is gluten-free.
Ramekin Size: The ideal ramekin size for creme brulee is 6 ounces. These dishes have a diameter of approximately 4.8 inches, and are 1.1 inches deep. Other sizes can also be used. Cooking time is determined by the depth of the liquid. For best results, only fill your ramekin with a depth of 3/4-inch of custard no matter what size the diameter is. Can I add in other flavorings to crème brûlée? We love this classic, vanilla crème brûlée, but there are many flavor varieties. Citrus and cafe au lait are a couple of popular variations to the classic recipe, but one of our favorite flavored varieties is lavender. If you want to take the time to infuse the cream with fresh or dried lavender, go for it! Otherwise, keep it simple and add in 1/2 teaspoon of lavender extract with the cream. What if I don’t have a kitchen torch? You really don’t need a kitchen torch for crème brûlée. You can caramelize the sugar in your oven under the broiler setting, however the downside to this is that broiling can also heat up the custard and make it soupy. If you don’t want to invest in another kitchen tool, just keep a watchful eye and don’t let them stay too long under the broiler. Water bath tips: You want to place the ramekins in a water bath for a couple of reasons: it keeps the oven moist and prevents the custard from cracking; water bathing also improves the texture of the custard, making it creamy and not rubbery. The water should reach half-way up the rameking. Be careful when adding water and moving around the pan so that the water does not slosh around and end up spilling over into the custards. Slow movements and steady hands are important when working with a water bath.
If you like this recipe, you may be interested in these other delicious dessert recipes:
Cookies and Cream Layered DessertDecadent Chocolate Cream PieOld Fashioned Creamy Lemon PieDutch Oven Peach Cobbler
Watch the video below where Rachel will walk you through every step of this recipe. Sometimes it helps to have a visual, and we’ve always got you covered with our cooking show. You can find the complete collection of recipes on YouTube, Facebook Watch, or our Facebook Page, or right here on our website with their corresponding recipes. Δ Δ


![]()